Import from Azure
Use this function to identify information existing in AZURE, a cloud service owned by Microsoft. The discovery of AZURE is based on account information rather than an IP range.
| Discovery Servers are not used in this type of discovery. |
| 1. | In the navigation pane, select Discovery Scan > Import from Azure. The Import from AZURE window displays. |
| 2. | From the Select Options drop-down box, choose Import. The Import from AZURE dialog box displays. |
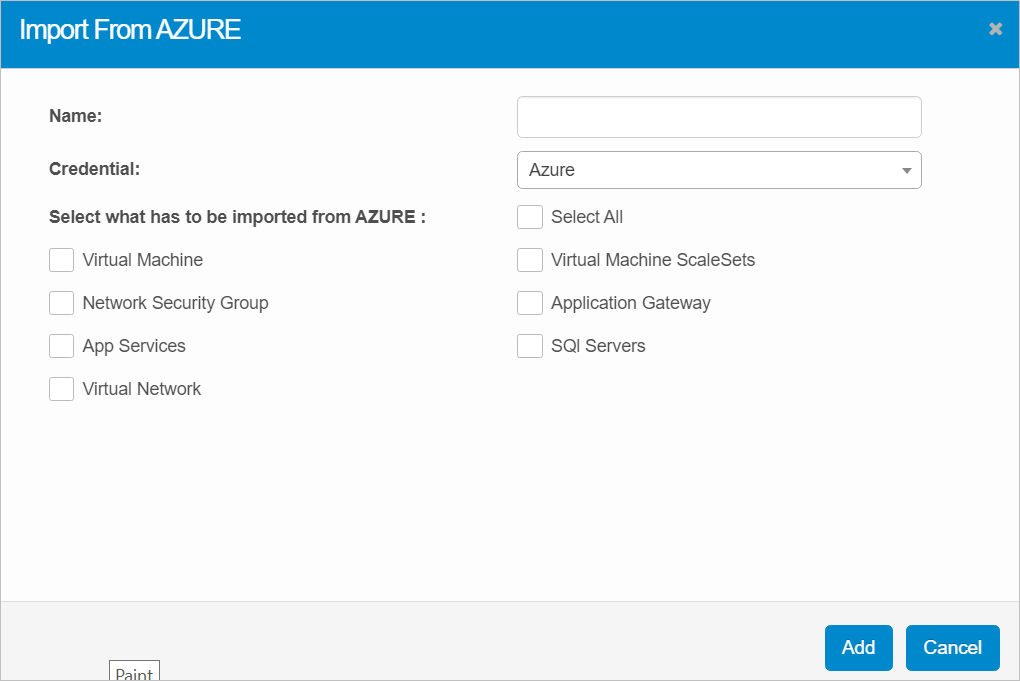
| 3. | In the Name field, enter a name for the credential. |
| 4. | In the Credential field, click the drop-down list and select the type of credential, such as established in Azure. |
| 5. | Select the information to import. |
| 6. | Click Add to import the information. Otherwise, click Cancel to cancel the operation. |
![]()
Use this function to edit the values of the configured parameters and update the information in the application.
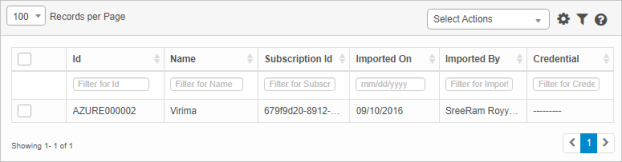
| 1. | In the navigation pane, select Discovery Scan > Import from Azure. |
| 2. | Select the record to edit. The Edit Report window displays the configured CI details into the following categories: All, Authorized, and Unauthorized. |
Authorized represents all assets that are already present inside CMDB.
Unauthorized represents new assets.
| 3. | To move a record CMDB, do the following: |
| a. | Select a record. |
| b. | Click Move to CMDB. |
| c. | In the Alert Message window, click Continue to move the record. The process runs in the background and no further action is required. |
| Deleting is a permanent action and cannot be undone. Deleting may affect other functionality and information in the application such as data in configured reports, fields in windows, selectable options, etc. Therefore, be sure to understand the potential effects before making a deletion. |
| 1. | Click the line that contains the item to delete. |
| 2. | From the Select Actions drop-down list, choose Delete. If a confirmation message is displayed, take the appropriate action (for example, click OK or Continue). |
Other Functions and Page Elements