Execution Plan
An execution plan describes how a catalog item is procured, configured, and installed. Each execution plan contains one or more tasks. For example, an organization might create an execution plan for delivering a corporate standard Laptop that contains these tasks:
An execution plan is not specific to any one catalog item. There could be many different models of Laptop that a user can order, all using the same execution plan. It is usually not necessary to create a new execution plan for each individual catalog item in a mature service catalog.
Execution Plan Tasks
An execution plan contains one or more execution plan tasks. Each task represents work that needs to be completed by a specific group as part of the overall request fulfillment process. Administrators create templates for tasks as part of defining an execution plan. The catalog tasks themselves are then created when the relevant item is requested based on these task templates.
Using Execution Plans
Once you have created the execution plan record, you can associate it with catalog items.
Create an Execution Plan
|
Administrators and Service Catalog Owners can create and manage execution plans. |
Developing an execution plan involves these general steps:
In the navigation pane, select ITSM > Service Portfolio > Service Catalog > Execution Plan. The Execution Plan window displays containing a list of all configured execution plans.

![]()
| 1. | From the Select Actions drop-down list, choose New Execution Plan. The Execution Plan window displays. |
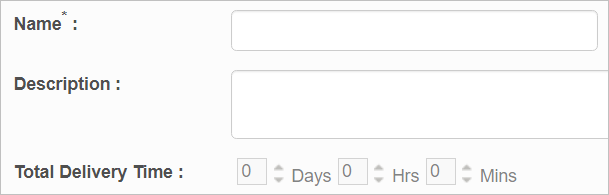
| 2. | Enter a Name and Description. |
| 3. | Enter the Total delivery time, which is the sum of the total time required for all tasks. |
| 4. | Click Add. |
Execution Plan Tasks
| 1. | In the main window, select a line item. |
| 2. | Click the Tasks tab. |

| 3. | Click New Execution Plan Task. |
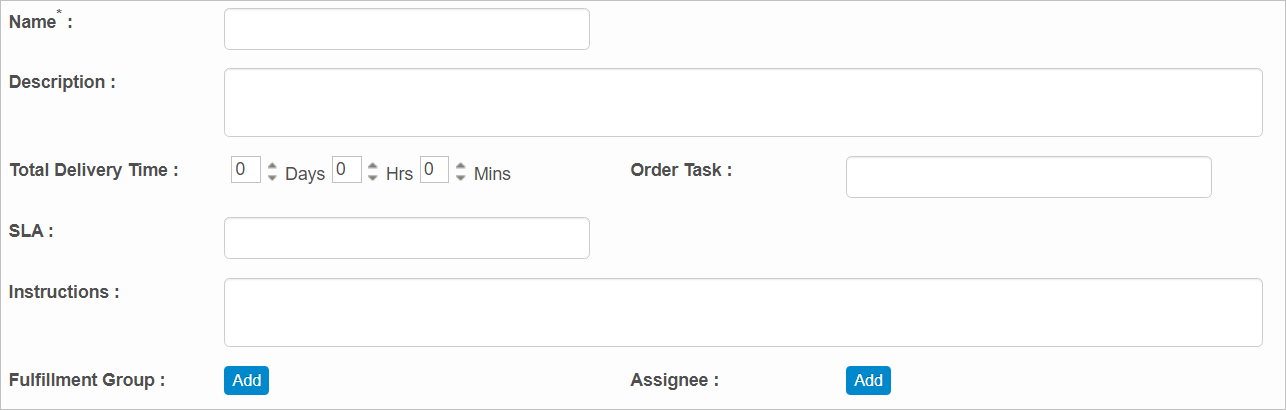
| 4. | Complete the fields, referring to the table below. |
| 5. | When all selections/entries are made, click Add. |
Tasks Fields
| Field | Description |
|---|---|
| Name | Enter a name for this task. |
| Description | Enter a description for this task. |
|
Total Delivery Time |
Enter the time interval for completion of this task in hours/days/minutes. In the list of plans, the Total Delivery Time is shown in minutes. |
|
Order Task |
Specify a number for the order of this task. |
|
SLA |
Enter the name of the SLA to associate with this task. |
|
Instructions |
Enter any instructions required to perform this task. |
|
Fulfillment Group |
Click |
|
Assignee |
Click |
| Not all functions include an option to edit record line items shown in the main window. |
| 1. | Navigate to the window containing the record to edit. |
| 2. | Click the line containing the record. The applicable window or dialog box displays. |
| 3. | Make the necessary modifications. |
| 4. | Click Save or Add, as applicable. |
When editing an existing item, other options may be available, such as adding Tasks, Comments, and Attachments and viewing History.
| The options change based upon the function; therefore, not every option may be shown. |
| Deleting is a permanent action and cannot be undone. Deleting may affect other functionality and information in the application such as data in configured reports, fields in windows, selectable options, etc. Therefore, be sure to understand the potential effects before making a deletion. |
| 1. | Click the line that contains the item to delete. |
| 2. | From the Select Actions drop-down list, choose Delete. If a confirmation message is displayed, take the appropriate action (for example, click OK or Continue). |
Other Functions and Page Elements