Create Incidents
Use this function to create an incident.
|
1.
|
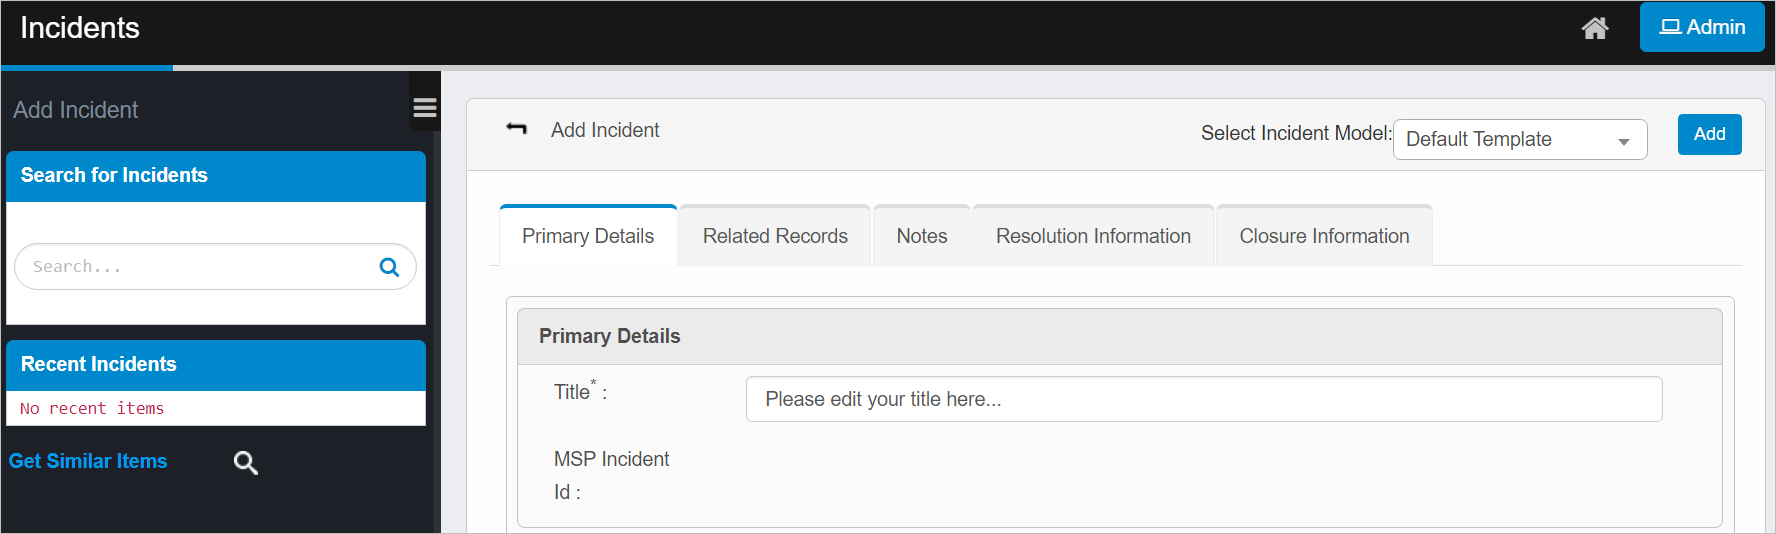
In the MSP window, locate the applicable client, and click Create Incident. The Incidents window displays. |
| |
Only users with the Admin permission can create an Incident Model. |
|
4.
|
When all selections/entries are made, click Add. |
Select Action Options
The following actions can be performed for this incident:
Change Attributes
|
1.
|
Select a record in the list. |
|
2.
|
From the Select Actions drop-down list, choose Change Attributes. |
|
3.
|
At the confirmation prompt, click OK. |
|
4.
|
In the Change Attributes window, make the necessary changes. |
|
5.
|
When all selections/entries are made, click Update. |
Move to Different Client
|
1.
|
Select a record in the list. |
|
2.
|
From the Select Actions drop-down list, choose Move to Different Client. |
|
3.
|
In the Client dialog box, search for a select a client. Then click Save. The record is moved to the different client. |
New Incident
Refer to the section above.
Other Tabs
When editing an existing incident, other tabs are displayed. Refer to ITSM > Incident Management > Incidents.
Other Functions and Page Elements